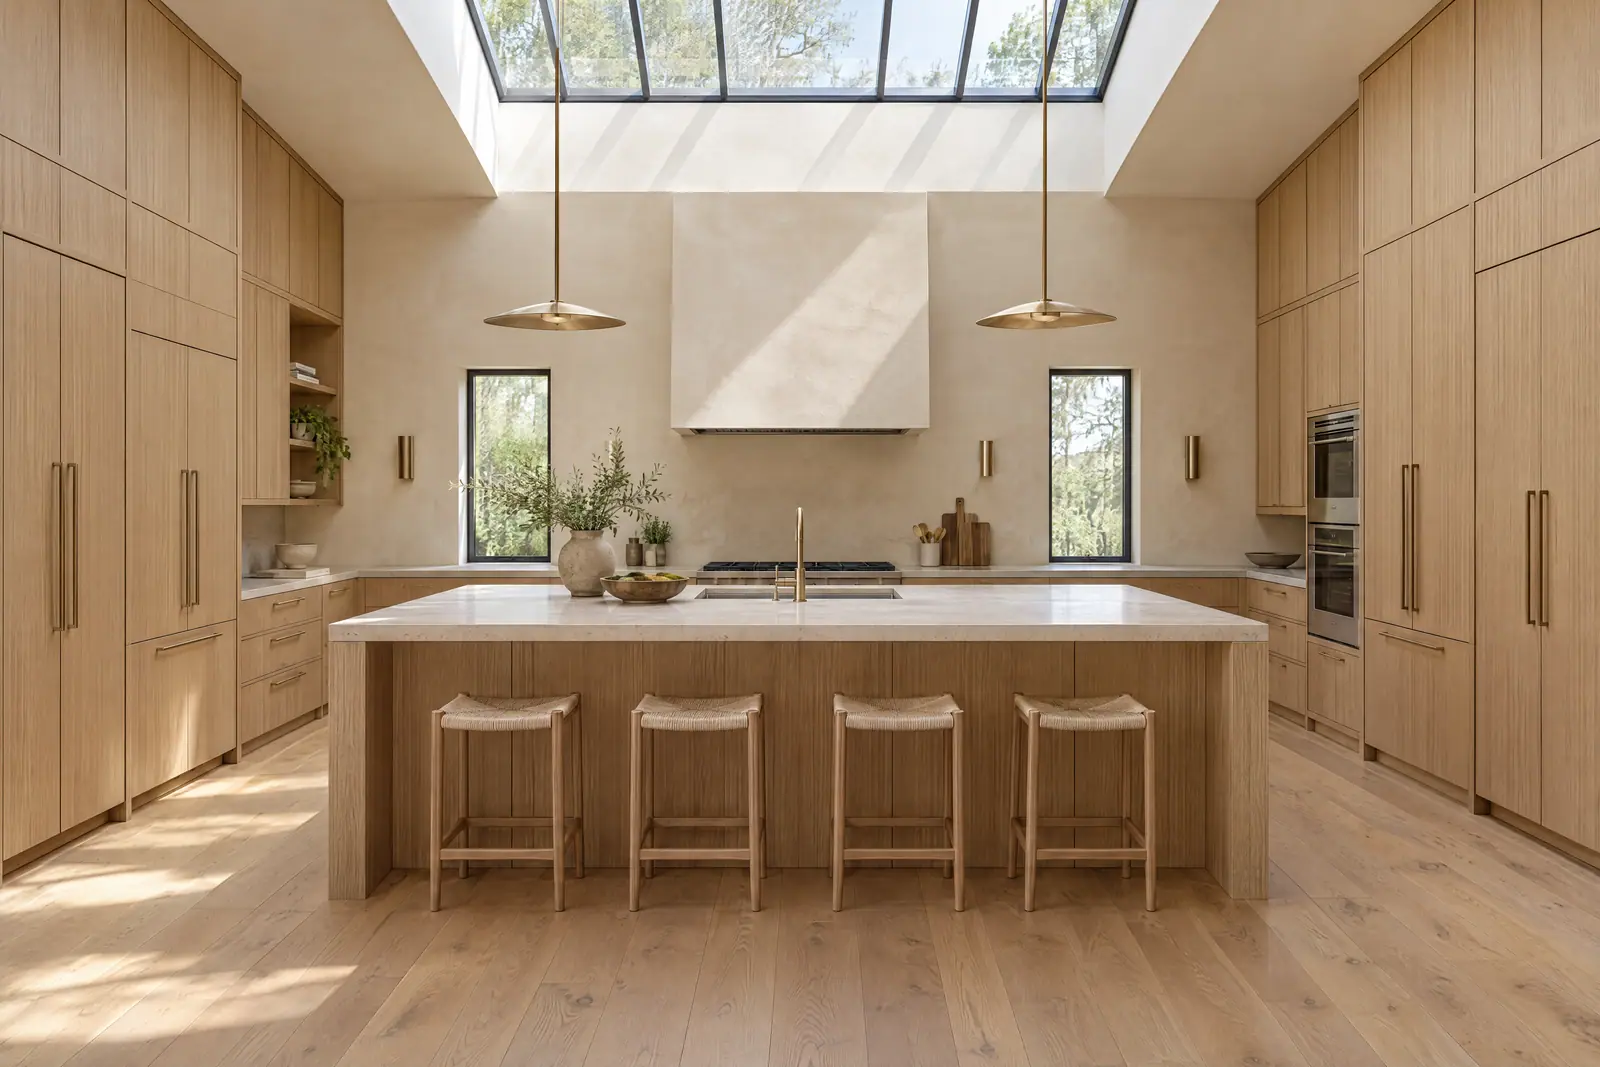
A kitchen remodel that starts in the cold months follows the same sequence as one that starts in June. What changes is the calendar around it: Thanksgiving and December hosting, deliveries arriving over icy driveways, and a house that stays closed up while drywall dust is in the air. The timeline below follows a kitchen from the first design meeting to the punch list, with the decisions that belong to each stage.
How long each stage takes depends on the size of the job, how much of it is custom and what your building department needs to review. So read the stages as an order of operations. The order is what keeps a project on track.
Stage 1: Measure, Settle the Layout, Set Priorities
Everything downstream depends on the layout. Before anyone draws cabinets, decide which walls stay, where the sink and range go, and whether an island fits with walkway room on every side. Moving a sink or a gas range brings plumbing and venting work with it, and that changes both the scope and the permit.
This is also the stage to write down how you actually use the room. Who cooks, how many people are usually in the kitchen at once, where groceries land when you walk in, where homework happens. A layout that answers those questions survives every later decision.
Stage 2: Selections and Orders
Cabinets, appliances, countertops, plumbing fixtures and tile all have to be chosen before construction starts, and some of them take a long time to arrive. Custom and semi-custom cabinetry is usually the longest wait in a kitchen, so it gets ordered as soon as the drawings are final. Ask each supplier for a written lead time and build the schedule backward from the latest one.
Appliances matter earlier than most people expect. Cabinet boxes are built around exact appliance dimensions, and a panel-ready refrigerator or a 48-inch range changes the cabinet order. Pick the models, download their installation specifications and hand them to whoever is drawing the cabinets.
Countertops come later. Stone fabricators template from the installed cabinets, so you can choose a slab now, but it gets cut only after the base cabinets are set and level.
Stage 3: Permits and the Holiday Question
Most kitchen remodels that move plumbing, add circuits or alter walls need a permit. On the Front Range that means your city or county building department, or the Pikes Peak Regional Building Department if you live in the Colorado Springs area. Review times vary by jurisdiction and by season, so submit as soon as the drawings are ready.
This is also where the holidays enter the plan. If you host Thanksgiving or a December gathering, you have two workable choices: finish before the event, or hold demolition until after it. A kitchen that is half torn out on a holiday weekend helps nobody. Pick the date first and let the schedule follow it.
Trying to fit a kitchen around a holiday date? See how we plan kitchen remodeling projects
Stage 4: Set Up a Temporary Kitchen
Before demolition, set up a working station somewhere else in the house. If the refrigerator is staying, move it to the dining room or garage. Add a microwave, a counter-height table, an electric kettle and a plan for washing dishes. A laundry sink works. A bathtub works in a pinch.
In winter a garage kitchen is cold enough to be miserable, so a dining room or a basement corner usually works better. Check that the circuit you plan to use can carry a microwave and a kettle running at the same time.
Stage 5: Demolition and Rough-In
With the house closed up for the season, dust control matters more. Expect zipper doors or plastic walls between the kitchen and the rest of the house, floor protection along the path to the door, and the HVAC returns near the work area sealed so the furnace doesn't carry dust into every room. Ask how the crew plans to handle this before demolition day.
After demolition comes rough-in: framing changes, water supply and drain lines, gas, electrical circuits and ventilation ducting. This is when the range hood duct gets its route outside, and when outlets, under-cabinet lighting and switch locations are fixed. Walk the room with the drawings during rough-in. Moving a box now takes minutes. Moving it after drywall takes a patch and a repaint.
Inspections happen here, before walls are closed. Your contractor schedules them, but it's worth knowing the rough inspection has passed before insulation and drywall go up.
Stage 6: Drywall, Cabinets and Templates
Drywall and paint go in before the cabinets so the cabinets aren't installed into a dusty room. Joint compound and paint dry slowly in a cold house, so keep the heat on through this stretch, even if the family travels for the holidays.
Cabinets go in next and must be level and anchored before the countertop fabricator comes to template. Fabrication and installation follow. Ask the fabricator how long their shop takes, because that wait is often the quietest and most frustrating part of the whole project.
Snow and ice affect deliveries more than the work itself. Cabinets and slabs come in through a door, and a crew carrying stone across an icy walk is a real hazard. Keep the driveway and path clear on delivery days.
Stage 7: Finish Work and the Punch List
Once the counters are in, the backsplash, faucets, appliances, light fixtures and hardware follow. Then comes the punch list: a walk-through where you note every door that needs adjusting, every paint touch-up and every missing piece of trim. Do it once in daylight and again at night with the new lighting on. Under-cabinet light shows backsplash flaws that daylight hides.
Keep the appliance manuals, finish names, paint colors and cabinet order numbers in one folder. When a hinge needs replacing years from now, that folder saves a lot of guessing.
To compare your own plan with how we run a project from the first meeting to the final walk-through, read through our remodeling process, which lays out each phase.